There are many reasons why you might be baking with gluten-free flour. Perhaps you’re a celiac who isn’t able to eat gluten, or perhaps you’re baking a birthday cake for someone who has a gluten intolerance. Whatever the reason is, you’ll probably know that gluten-free baking is slightly different from regular baking and that it comes with its own distinct challenges. We’re going to look at five great tips that you can incorporate into your gluten-free baking that will help to improve the taste, consistency, and even the looks of your finished product.
Tip #1 – Add Extra Flavorings
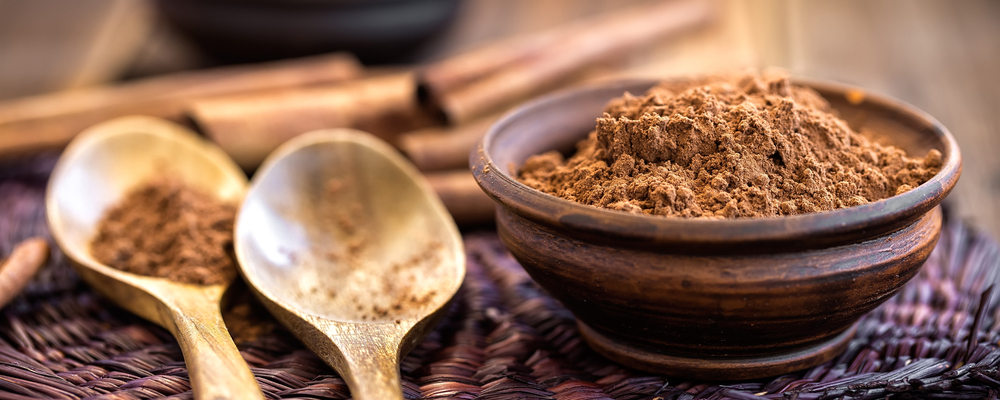
People who are unaccustomed to eating gluten-free cakes will often comment on the unique flavor upon tasting a gluten-free cake for the first time. The replacement flours that you need to use for gluten-free baking have very powerful, distinctive tastes that can overpower the rest of the cake. The best way to avoid this happening is to increase the number of flavorings that you put into your cake mix. The more flavor you put into your mix, then it will cover up the taste of the gluten-free flours.
Tip #2 – Use Brown Sugar, Not White Sugar
Inexperienced gluten-free bakers are often disappointed with the dryness of the cakes that they bake. Moistness is, of course, a key element to so many cakes, and the lack of moisture in a gluten-free cake can ruin the taste. It can also make you feel like you’ve wasted a huge amount of time to produce an unsatisfactory cake.
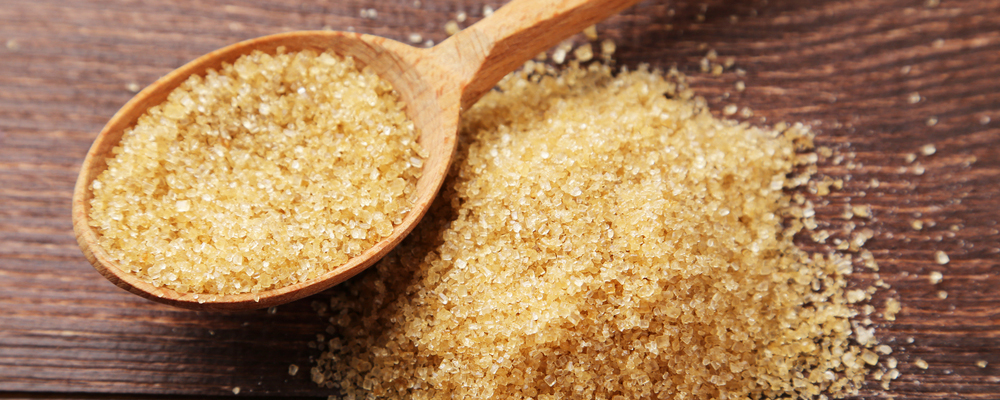
Fortunately, there’s an easy substitute that you can add to your cake mix to make it moister. Instead of using white sugar, you should use brown sugar. If this still doesn’t quite give you the right moisture, then you can also substitute the sugar with honey or agave. Neither of these ingredients is solid, though, so you need to keep this in mind, or else you could have issues to do with the texture of the cake and difficulty getting it to set.
Tip #3 – Try Normal Recipes with This Alteration
Many people make the mistake of thinking that it’s no longer possible to bake their favorite cake recipe with gluten-free flour. That’s not right. You can still bake all your old cake recipes with gluten-free flour, but you should keep in mind that you cannot simply substitute standard flour with gluten-free flour and use the same servings. That’s because gluten-free flour requires water to rehydrate it.
You’ll need to add water to it when you’re making your batter. It’s best to do this slowly, with one tablespoon servings each time, then keep checking the consistency of the batter with a spoon. When the batter falls easily from the spoon, then you’ve got the right amount of water in it. You’ll also need to adjust the baking time of your cake because of the gluten-free flour. Of course, this depends on the cake that you’re baking, but five minutes should be a good amount of time to add on.
Tip #4 – Use Scales, Not Measuring Cups for Gluten-Free Flour
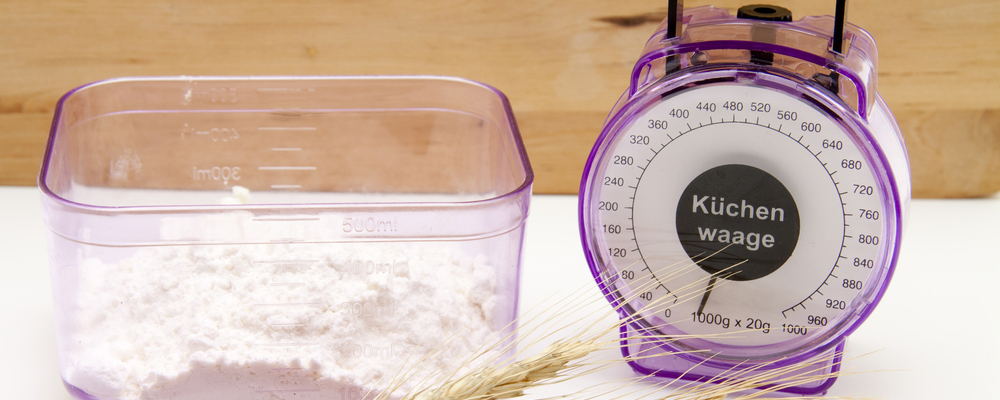
A lot of bakers who are used to using regular flour tend to measure out the portions of your flour with cups. It’s much easier and takes little time to do. But this isn’t possible with gluten-free flour. Why? Because it’s much finer than regular flour. And this makes it a lot harder to pack it evenly into the measuring cup. The best method with gluten-free flour is through weighing with a scale. Even though you may have always baked with measuring cups, you’ll have to break this habit now, as it’s just not as accurate as using a scale for gluten-free flour.
Tip #5 – Leave Gluten-Free Batter or Dough for 30+ Minutes
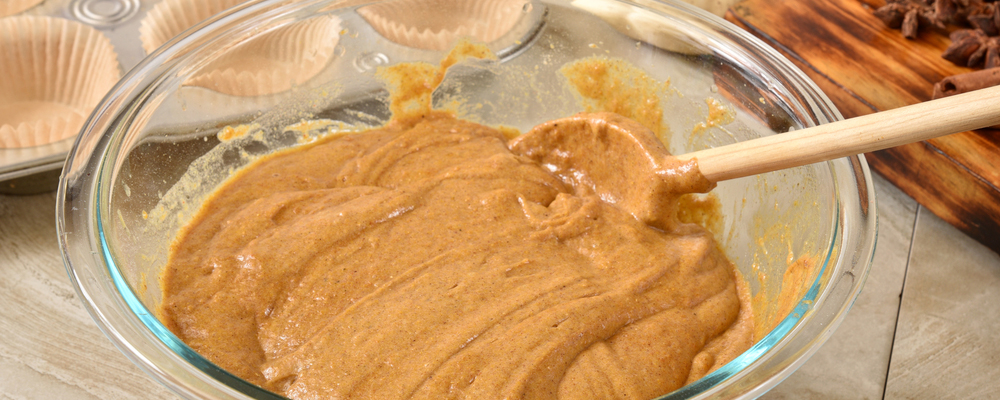
One issue that every gluten-free baker comes up against is a gritty, sand-like texture when baking foods that don’t require a long time in the oven. This can ruin the taste, as well as make for an unappealing-looking baked good. If you leave your batter to rest – for at least 30 minutes – after you have made it, then you’ll find that this sandiness is completely gone. You’ll also find that the baked good is much firmer, lacking that horrible stickiness that you often get from gluten-free baked goods.
Summary
Gluten-free baking is full of challenges. It can take a lot of experimentation to become confident with it, especially if you’ve been baking with regular flour for the whole of your life. Fortunately, if you follow the five tips that have been laid out in this article, then you’ll quickly notice that the quality of your gluten-free baked goods will improve dramatically. And these tips will also prove to you that minor adjustments can create huge consequences, all for the better, of course.